
Car stereo removal and GROM Car Bluetooth intsllation guide: Volvo 01-06 HU650 HU850
Below are the general guidelines for connecting GROM-BT3 interface to the Volvo 01-06 HU650 HU850 car stereo. This particular car is Volvo S60 2008. Our posted car stereo removal instructions help with aftermarket adaptor install projects, iPod, XM, USB, Sirius, MP3, Bluetooth, video or audio when stereo removal is needed for installation.
Disclaimer: We are not liable for any damages acquired during your installation process. If you are not sure in your ability to perform the installation please seek the help of the professional.
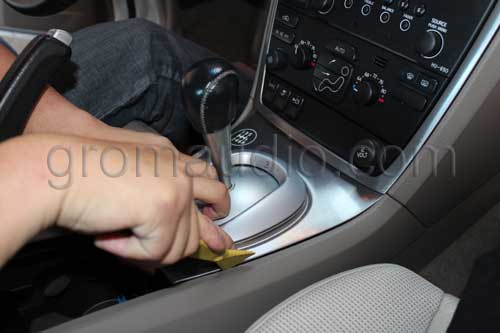
- Use a plastic panel removal tool to pry off the trim around the shifter. There are 4 tabs towards the bottom of the shifter panel.
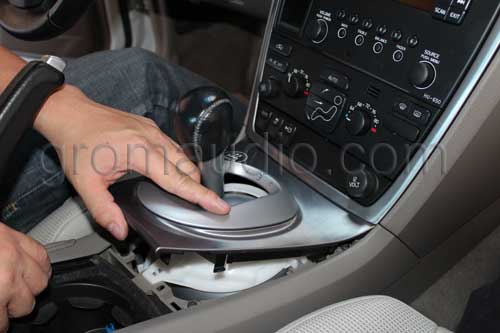
- Pull the trim piece upwards and remove the trim panel.
- After shifter trim panel has been removed, 2 screws under the center console will be exposed.
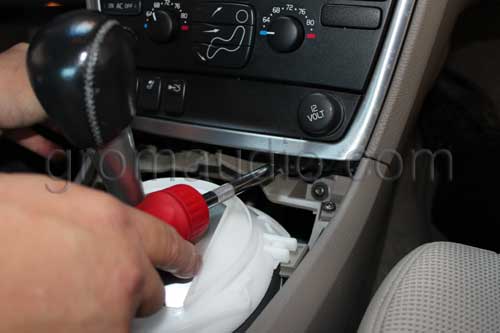
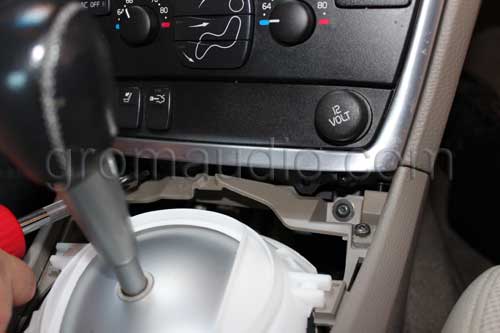
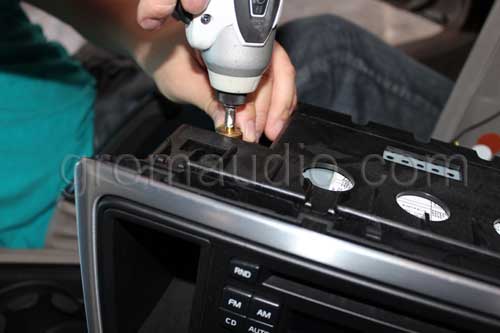
- Use a torque bit to remove the 2 screws on the bottom of the center console.
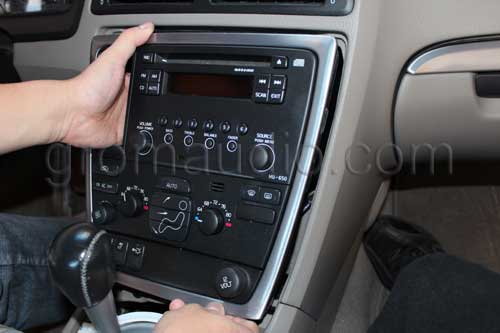
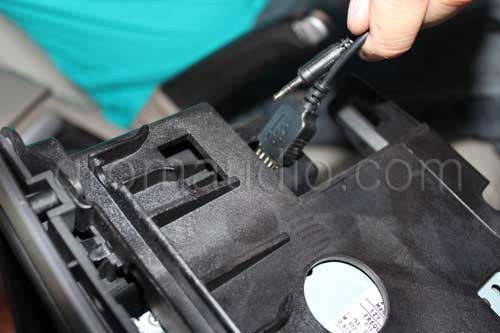
- Now that the screws are removed, pull the console towards the shifter to expose wiring behind radio.
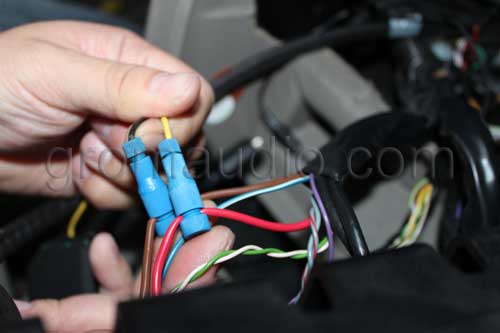
- Use the provided P-Taps to tap into the RED and Brown wire on the radio harness. Connect the Yellow wire from the harness to the RED wire and the Black wire to the Brown wire.
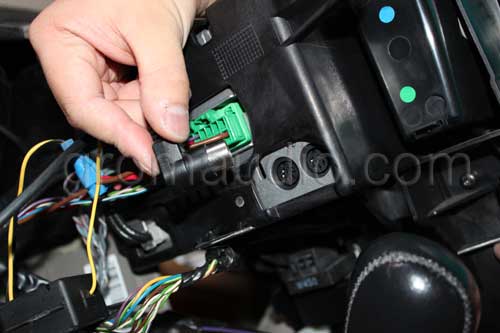
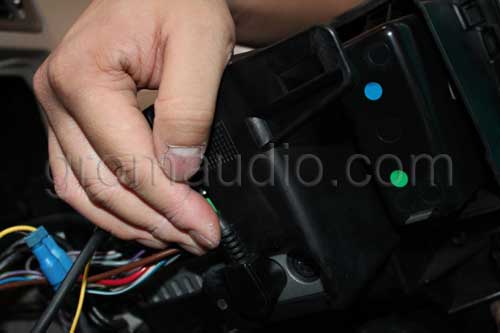
- The VOL01 harness will only plug into one of the ports behind the radio.
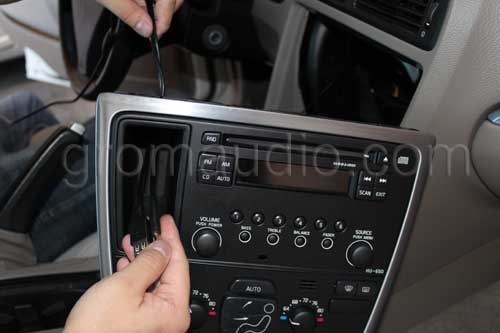
- Make sure the VOL01 harness is completely secure and that it is not loose.
- For those who would like to have their connection in the center console, drill a hole on top of the pocket next to the radio. Or, you can feed it into the glove box.
- Feed your connections through the hole that you have just created.
- Pull your connection to the desired length and tie a knot on top of the pocket, so that you will not keep pulling on the wire to an excess length.
- We used a long ZipTie to feed our microphone wire to the back of the radio. There is just enough space between the gauge cluster and trim panel to complete this.
- Use the provided microphone mount and double sided sticky to mount the microphone in front of the gauge cluster. Please wipe down the area where you will be mounting the microphone.
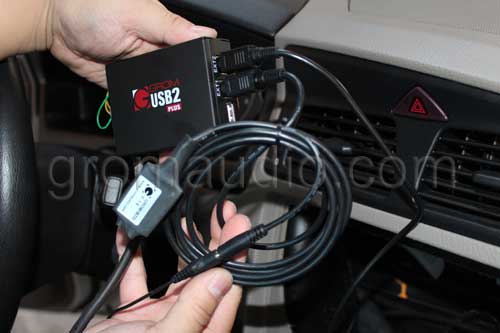
- Make sure all connections are tightly secured and mount your GROM unit behind the radio where it will clear the radio when reinstalling the radio.
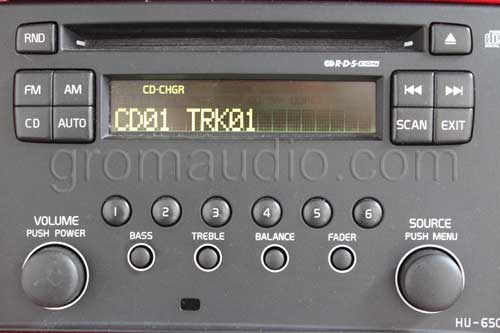
- Before putting everything back together, test the radio to make sure it is reading your Grom unit.
- Reverse steps and ENJOY GROM AUDIO!


COPYRIGHT NOTICE
All material and content are property of gromaudio.com and (or) www.indashpc.org
The material and content on this site is protected by international copyright laws.
You may not modify, duplicate, reproduce, publish, upload, transmit, or distribute in any way (including by way of email, facsimile or other electronic means) material and content from this site, unless specified, without written permission from gromaudio.com. You may download certain content or materials on specified pages from this site for personal, non-commercial use only.
All other logos, banners, and certain content not affiliated or owned by gromaudio.com is the sole property of the rightful owner.